Voiceover
Translate your subtitles into any language and generate an AI voice track for them. Four steps from a transcribed recording to a fully localized version.
Voiceover in TinyRec is a localization pipeline: it reads your existing subtitle cues, translates them into a target language, and generates an AI voice track that ships alongside (or in place of) your original narration. Same recording, new language — without re-recording, re-scripting, or hiring a voice actor.
Before you start: generate subtitles
Voiceover is driven by your subtitle cues. Each cue’s text becomes the source for translation and synthesis, and the cue’s start/end timing becomes the segment boundary on the timeline.
If you haven’t transcribed yet, do that first — see Subtitles for the Whisper download + Generate workflow. Once your timeline has a row of subtitle cues, come back here.
Step 1 — Sign in and check credits
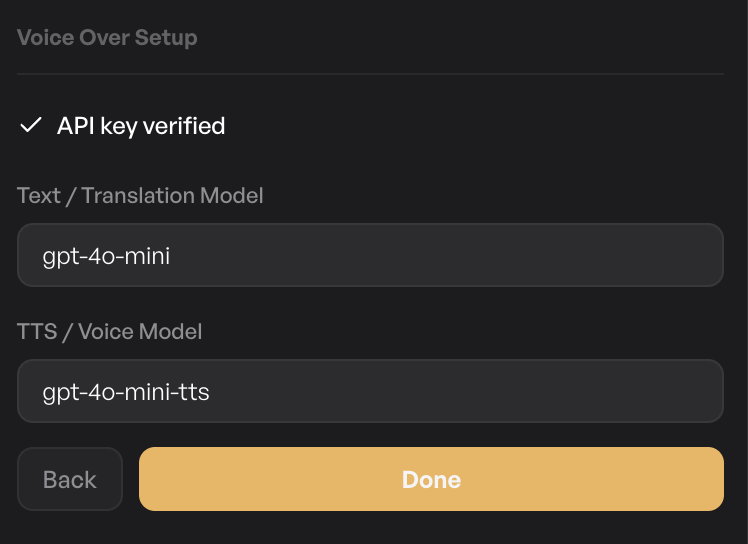
Open the Voice tab in the editor’s settings panel. TinyRec uses the managed Grok voice-over API, so there is no provider key to paste or verify.
The panel shows your remaining voice credits. Free users start with 1,000 credits, Pro subscribers get 50,000 credits refreshed each billing month, and 1 character costs 1 credit. If you are signed out, or a generation would cost more than your remaining credits, the Generate button stays disabled.
Step 2 — Pick a voice and language
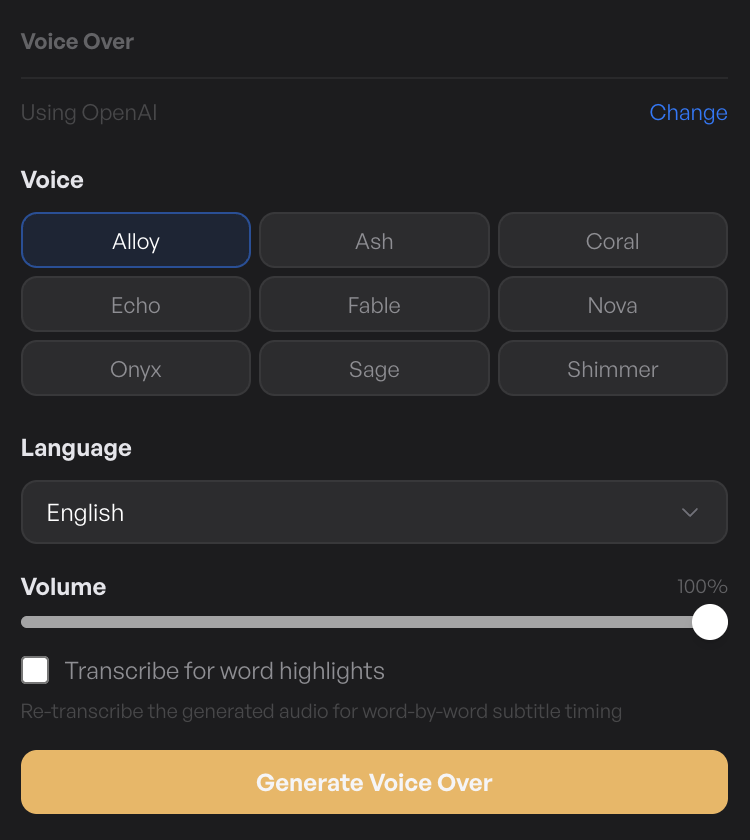
Pick the voice and target language for the generated track.
The main settings sit together:
- Voice — the voice character. Pick the one that matches the tone of your video.
- Language — the target language for translation and synthesis. TinyRec will translate your subtitle cues into this language using the model, then synthesize the voice. Pick Vietnamese, Spanish, Japanese, French — whatever your audience speaks.
If your subtitles are already in the target language (e.g. you transcribed Vietnamese audio and want a Vietnamese voiceover), TinyRec skips the translation step and just runs the synthesis.
Step 3 — Generate the voiceover
Click Generate. TinyRec walks every subtitle cue, translates it into the target language, spends the required credits, sends the text to the managed TTS API with your chosen voice, and drops the resulting audio onto the timeline as voiceover segments — one per subtitle cue, timed to match.
You’ll see the progress per cue as it runs (translation first, then voice synthesis). When it completes, the voiceover row on the timeline fills with segments lining up with your subtitles.
See it on the timeline
Each generated voiceover lands as its own segment on the Voiceover row. Scroll the timeline and you’ll see them sitting underneath the matching subtitle cues, with the same start and end times.
From here you can:
- Preview — click play; the voiceover mixes against the project’s existing audio at the level set on the Audio tab.
- Retime — drag a segment’s edges to nudge timing if a translated line is longer / shorter than the original.
- Re-generate one segment — click a single voiceover segment and hit Re-generate in its panel. Useful when one specific line came out wrong but the rest are fine.
- Edit text — every segment’s translated text is editable. Tweak the wording, hit re-generate, the segment updates in place.
Mixing with the original mic track
You’ll usually want to mute or duck the original microphone when shipping a localized version, so viewers hear the AI voice instead of your English. Open the Audio tab and:
- Pull the Microphone slider to 0 to silence your original voice entirely.
- Or leave it at a low level (10–20%) if you want a faint trace of the original underneath the voiceover.
The voiceover slider on the same tab controls the AI voice’s loudness independently.
Word-level timing for animated subtitles
If you’ve used the Word highlight subtitle animation, the voiceover’s per-word timestamps need to be re-aligned to the new audio. TinyRec handles this automatically — generated voiceovers come back with word-level timing data baked in, so the subtitle word-highlight animation hits the right word at the right moment in the new language.
What’s next
- Subtitles — the source of every voiceover. The cleaner the transcript, the cleaner the translation and synthesis.
- Audio editing — mix the voiceover against the original mic, system audio, and background music.
- Multi-scene script flow — for projects where you want one voiceover per scene rather than one per cue.