Export
Click Export, pick a quality, save the MP4. What you see in the editor preview is what ships in the file.
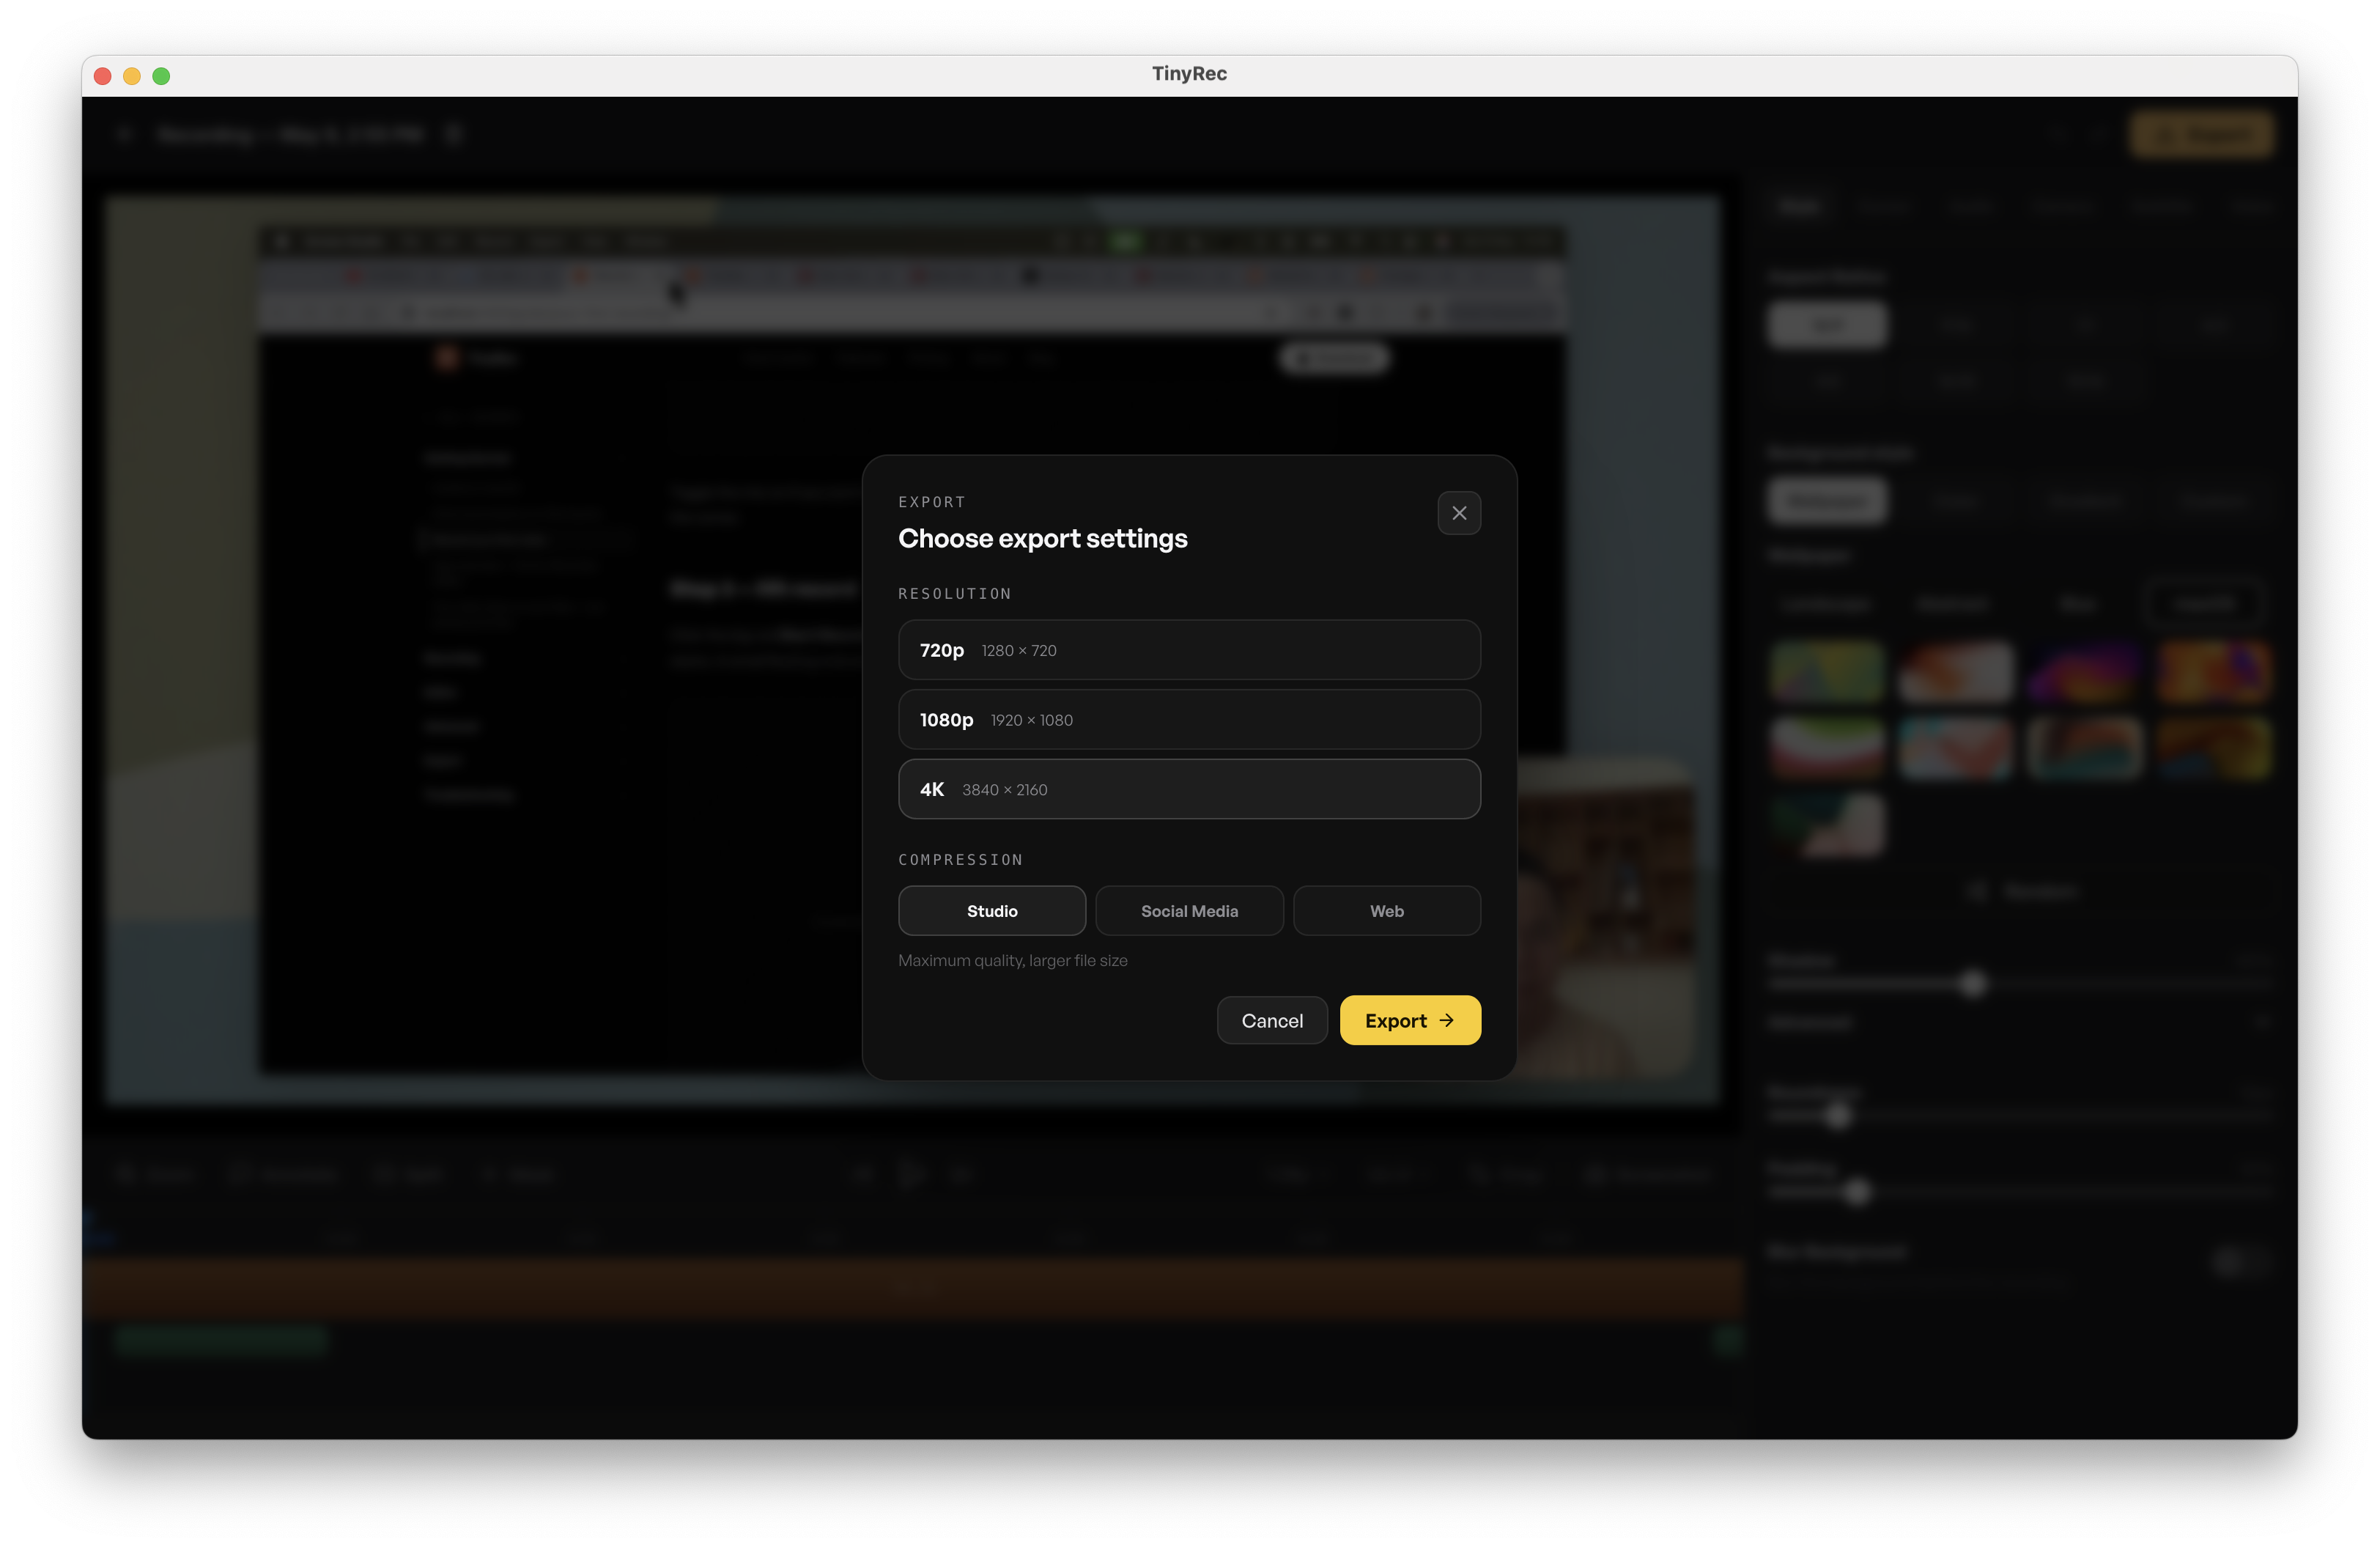
When the project looks the way you want, click Export in the top-right of the editor. A small dialog opens — pick a quality, give the file a name, and the render starts.
What gets exported
Same as the editor preview. Whatever you see when you press play in the editor is exactly what lands in the file — every layer baked in, nothing left for the viewer to toggle.
Quality
Three presets, all H.264 MP4:
- Social (1080p) — bitrate tuned for social uploads. Smaller file, looks great on phone screens. The default for most projects.
- Studio (1440p) — higher bitrate, sharper detail. Right when the recording will be embedded in a docs site or autoplayed at native size.
- Studio 4K (2160p) — full 4K. Use when the source recording was at 4K and the audience will watch on a big screen. File sizes climb fast at this tier.
Each preset rolls quality + bitrate into one choice. Lower-tier presets render faster and produce smaller files.
Watermark
Free users get a small TinyRec watermark in the corner opposite the camera bubble (or the bottom-right when there’s no camera). Pro subscribers get watermark-free exports — the dialog skips the watermark entirely.
If you’ve subscribed to Pro and the watermark still appears, check that you’re signed into the same account in Settings → Account.
Where the file lands
The dialog opens a save sheet — pick the folder and the filename. Defaults to your Movies folder, with the project’s title plus a timestamp so re-exports don’t overwrite each other. macOS remembers the last used folder for the next export.
Once the render completes the file appears in Finder. The dialog also offers a Show in Finder button that highlights the new file.
Render speed
The Rust export pipeline runs the render natively. On Apple Silicon a 30-second 1080p clip exports in a few seconds. 4K renders are typically 2–3× faster than the source video duration. All on-device — no upload, no cloud queue.
The dialog shows a progress bar with frames-per-second so you can see the pipeline keeping pace with the source.
What’s next
- Style your video — wallpaper, padding, roundness, shadow, blur. The look that gets baked in.
- Privacy and data — exports are local; the file never leaves your Mac unless you share it.
- Pricing — Pro if you want watermark-free exports and more voice credits.