Style your video
Wallpaper, padding, corner roundness, shadow, blur — everything that lives between your screen recording and the edge of the frame.
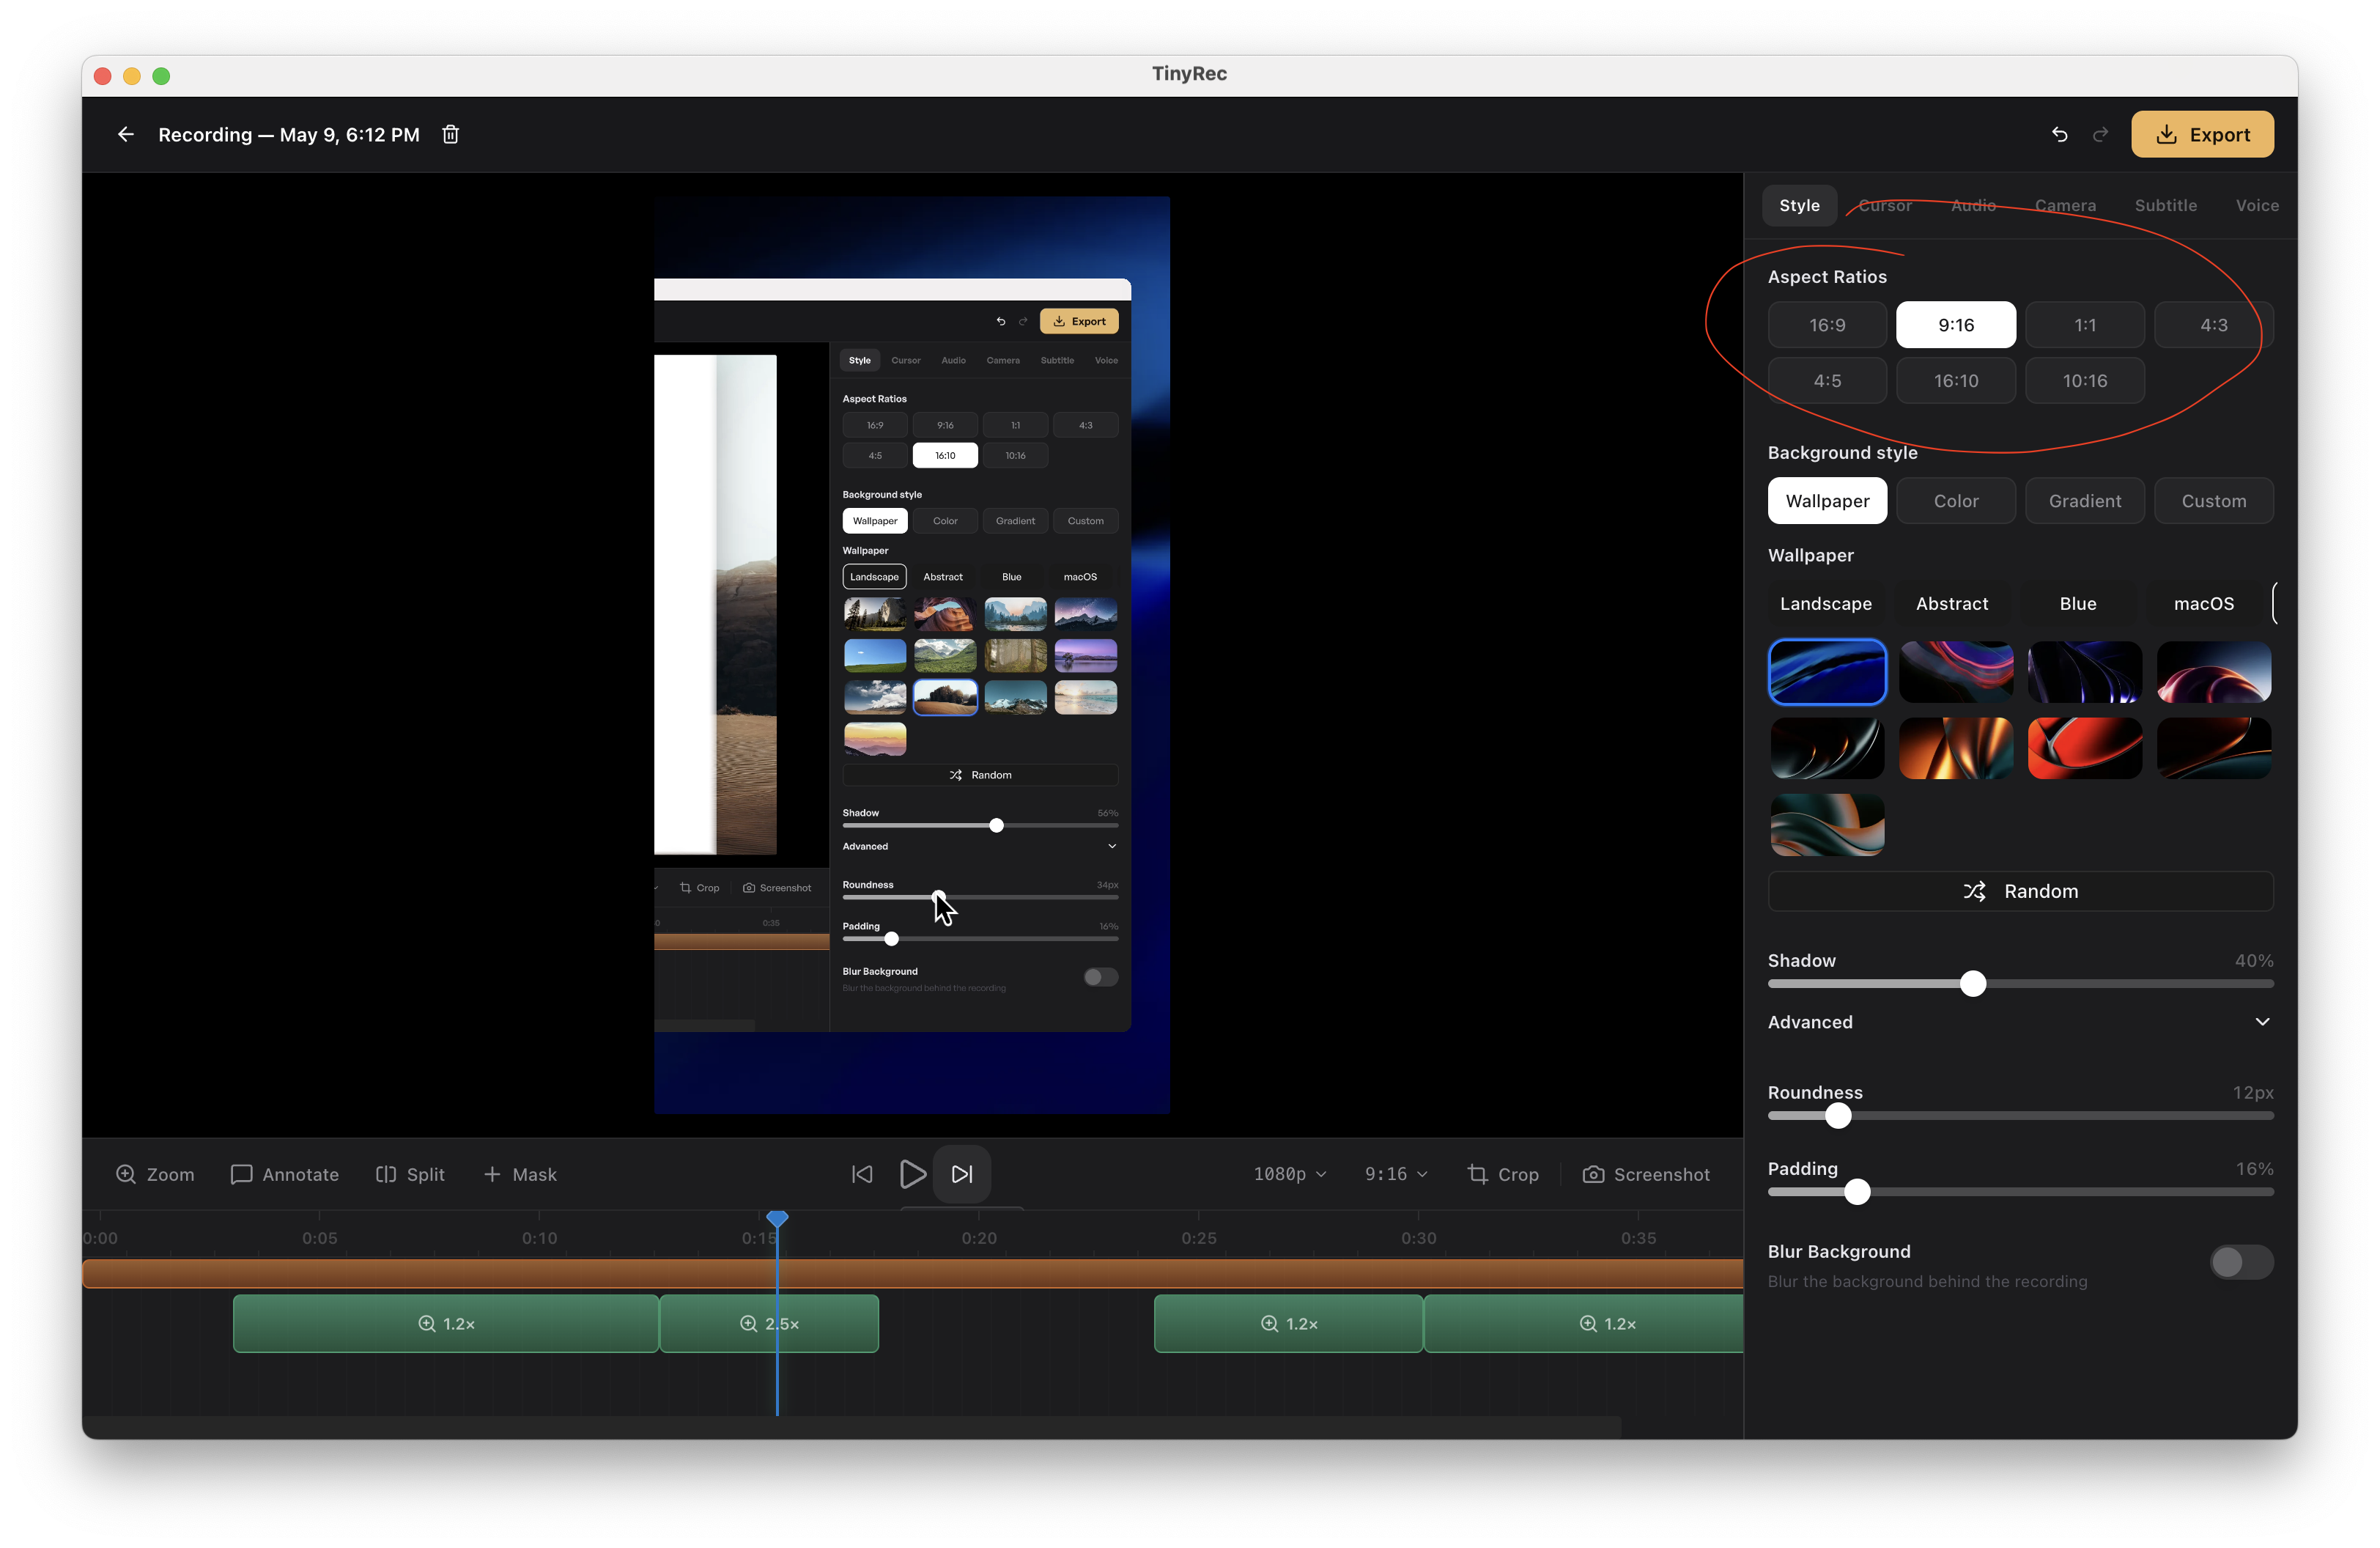
The Style tab in the editor controls everything around your screen recording — the wallpaper behind it, how much breathing room it has, whether the corners are sharp or rounded, the drop shadow, the background blur. Together they’re what makes a raw screen capture look like a finished product video instead of a QuickTime clip.
Every setting here applies to the whole project. There’s no per-segment styling — the wallpaper, padding and frame stay consistent across the entire export.
Pick a wallpaper
The wallpaper is the layer that fills the frame behind your recording. The Style tab opens with a grid of presets — gradients, solid colours, photographs, branded backgrounds.
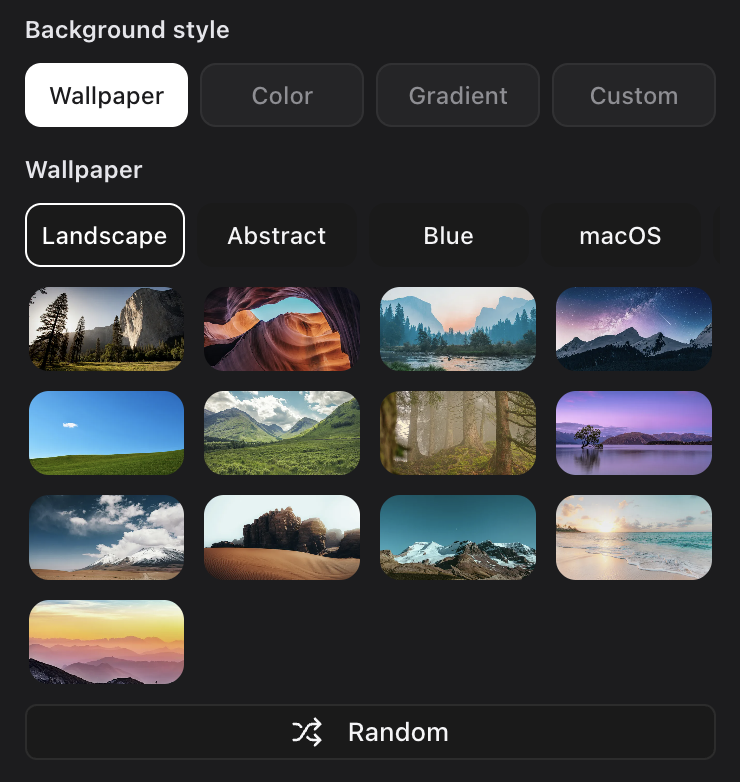
- Click any preset to apply it. The preview canvas updates instantly so you can scroll through the grid and see what fits.
- Solid colour — pick any colour with the colour picker. Hex input, opacity slider, eyedropper.
- Custom image — drag a PNG or JPG into the wallpaper area to use your own. Useful for brand backgrounds.
- Gradient editor — build your own two- or three-stop gradient. Save it as a preset to reuse on future projects.
If you have brand colours you’ll use across every video, set them once in Settings → Brand. They’ll show up at the top of the colour picker on every project — no copying hex codes between videos.
Padding — the gap between recording and frame
Padding is the space between your screen recording and the edge of the wallpaper. The default is sized so a 16:9 recording feels framed without dominating the canvas.
- Slider in the Style tab — drag to set padding from 0 (recording fills the canvas edge to edge) to large (recording floats in the middle of a wide wallpaper).
- Aspect-aware — padding is computed relative to the export aspect ratio, not the recording aspect ratio. Switching from 16:9 to 9:16 keeps the framing visually consistent.
- Per-side override — open the padding controls and you can set top, right, bottom, left independently. Useful when you want extra room at the bottom for captions.
Aspect ratio — one project, every platform
Pick the export aspect ratio in the Style tab and TinyRec re-frames your recording for it on the spot. Same project, same source, but suitable for whichever feed you’re posting to:
- 16:9 — landscape. YouTube, X, embedded product demos.
- 9:16 — vertical. Instagram Reels, TikTok, YouTube Shorts.
- 1:1 — square. Instagram feed, LinkedIn.
- 4:5 — tall. Instagram feed (taller than 1:1, better engagement).
The thing that makes this actually useful: all the editing carries over. Auto zoom segments still target the right cursor positions, manual zooms keep their pinned focus, the cursor highlight + click effects stay aligned, your wallpaper and padding rescale to fit. You don’t re-edit for each platform — you switch the aspect ratio, sanity-check the preview, and export.
Switching aspect mid-edit doesn’t lose work. If you trim, zoom, or annotate at 16:9 then flip to 9:16, every effect is preserved — just re-framed inside the new canvas. Flip back and you’re exactly where you were.
The trickiest case is when a focus point would land outside the new canvas (e.g. a cursor click on the far right edge of a 16:9 capture, exported at 9:16). TinyRec keeps the focus point in source space and just shifts the visible window, so the click stays centred in the export rather than getting cropped off.
Corner roundness
Round the corners of your screen recording so it doesn’t sit as a sharp rectangle on the wallpaper. The slider goes from 0 (sharp corners) to fully rounded (a circle for square recordings, pill shape for landscape).
A medium radius — somewhere between 8 and 24px equivalent — looks like macOS app windows and reads as polished without being cute.
Shadow
Drop shadow under the recording. Off by default; turn it on for a subtle floating effect.
- Strength — opacity of the shadow. Low strength (10–20%) reads as polished; high strength looks dated.
- Blur radius — how soft the shadow’s edge is. Higher = softer, more elevation.
- Offset — distance from the recording. Default is straight down for a “lit from above” feel; you can offset diagonally for a different look.
- Colour — black by default. Use a tinted shadow when your wallpaper has a strong colour cast (a warm shadow on a sunset gradient, etc.).
If you’re styling for a brand, save the full shadow config (strength + blur + offset + colour) as a preset.
Background blur
The blur slider applies a Gaussian blur to the wallpaper layer only — your recording stays sharp.
- Why use it — when you’ve used a custom photograph as the wallpaper and the photo is too detailed, blurring it lets your recording read as the focal point.
- It also affects masks — if you’ve used a mask segment to blur a region of the recording (for passwords, names, etc.), the same blur engine applies. The mask blur and the background blur are independent settings, but they share the underlying renderer, so they’re both fast.
Animations on the style layer
Once you’ve set a style, every effect — auto zooms, manual zooms, transitions between scenes — animates against it. The wallpaper, padding and frame stay anchored while the recording moves and zooms inside the frame.
If you change the style halfway through editing, every existing zoom updates automatically. Nothing to re-render manually.
Save a style preset
When a project’s style is the way you want it, click Save as preset under the Style tab header. The whole bundle — wallpaper, padding, roundness, shadow, blur — saves as a single preset.
Apply it to your next project with one click. This is the fastest way to keep a series of videos visually consistent without re-tuning every setting.
What’s next
- Zoom — zooms animate against the styled frame, so they pair well after styling.
- Wrap your video in an iPhone bezel — for iPhone recordings, the device frame replaces the rectangular crop that Style controls.