Install on macOS
Download TinyRec, drag it into Applications, and open it for the first time.
This takes about a minute. By the end you’ll have TinyRec sitting in your Applications folder and the recorder window open on screen.
What you need
- A Mac running macOS 13 (Ventura) or newer
- Apple Silicon (M1, M2, M3, M4) recommended — Intel works but exports are slower
- About 200 MB of free disk space
That’s it. No accounts, no sign-in, no admin password.
Step 1 — Download the .dmg
Click the download button on the home page. Your browser will save a file called something like TinyRec-Mac-arm64-Installer.dmg.
Step 2 — Drag TinyRec into Applications
Double-click the .dmg you just downloaded. A window pops up showing the TinyRec icon next to a shortcut to the Applications folder. Drag the icon onto the Applications folder.
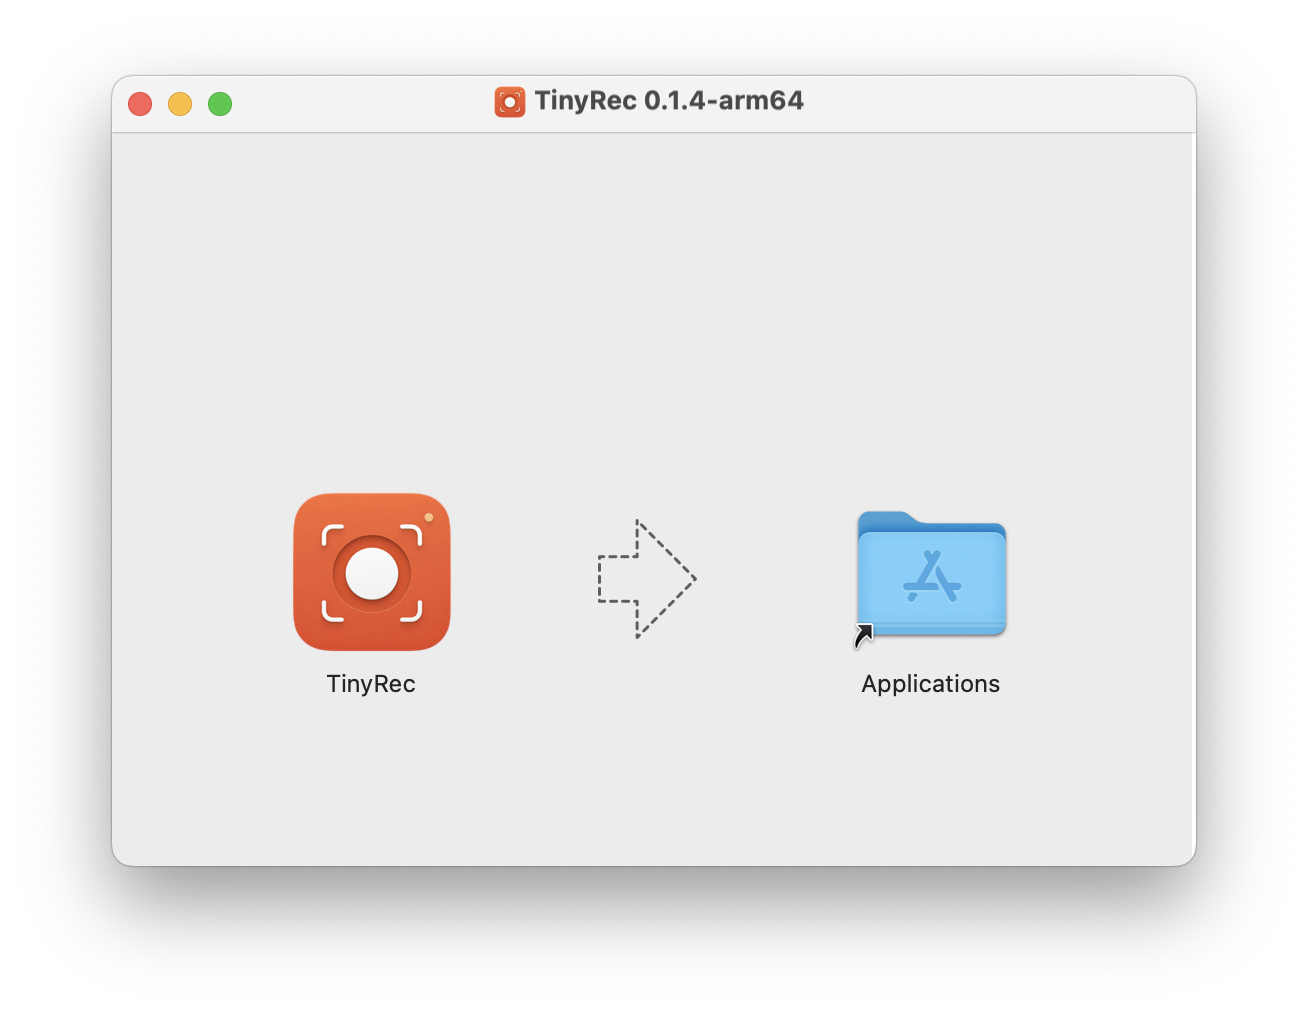
This copies TinyRec to your Mac. You can now eject the .dmg (right-click it on the desktop → Eject) and throw it in the Trash.
Step 3 — Open it for the first time
Open the Applications folder (Cmd+Shift+A in Finder), find TinyRec, and double-click.
TinyRec is signed and notarized by Apple, so the first launch is just the standard “TinyRec is an app downloaded from the Internet. Are you sure you want to open it?” prompt — click Open. You only see this once.
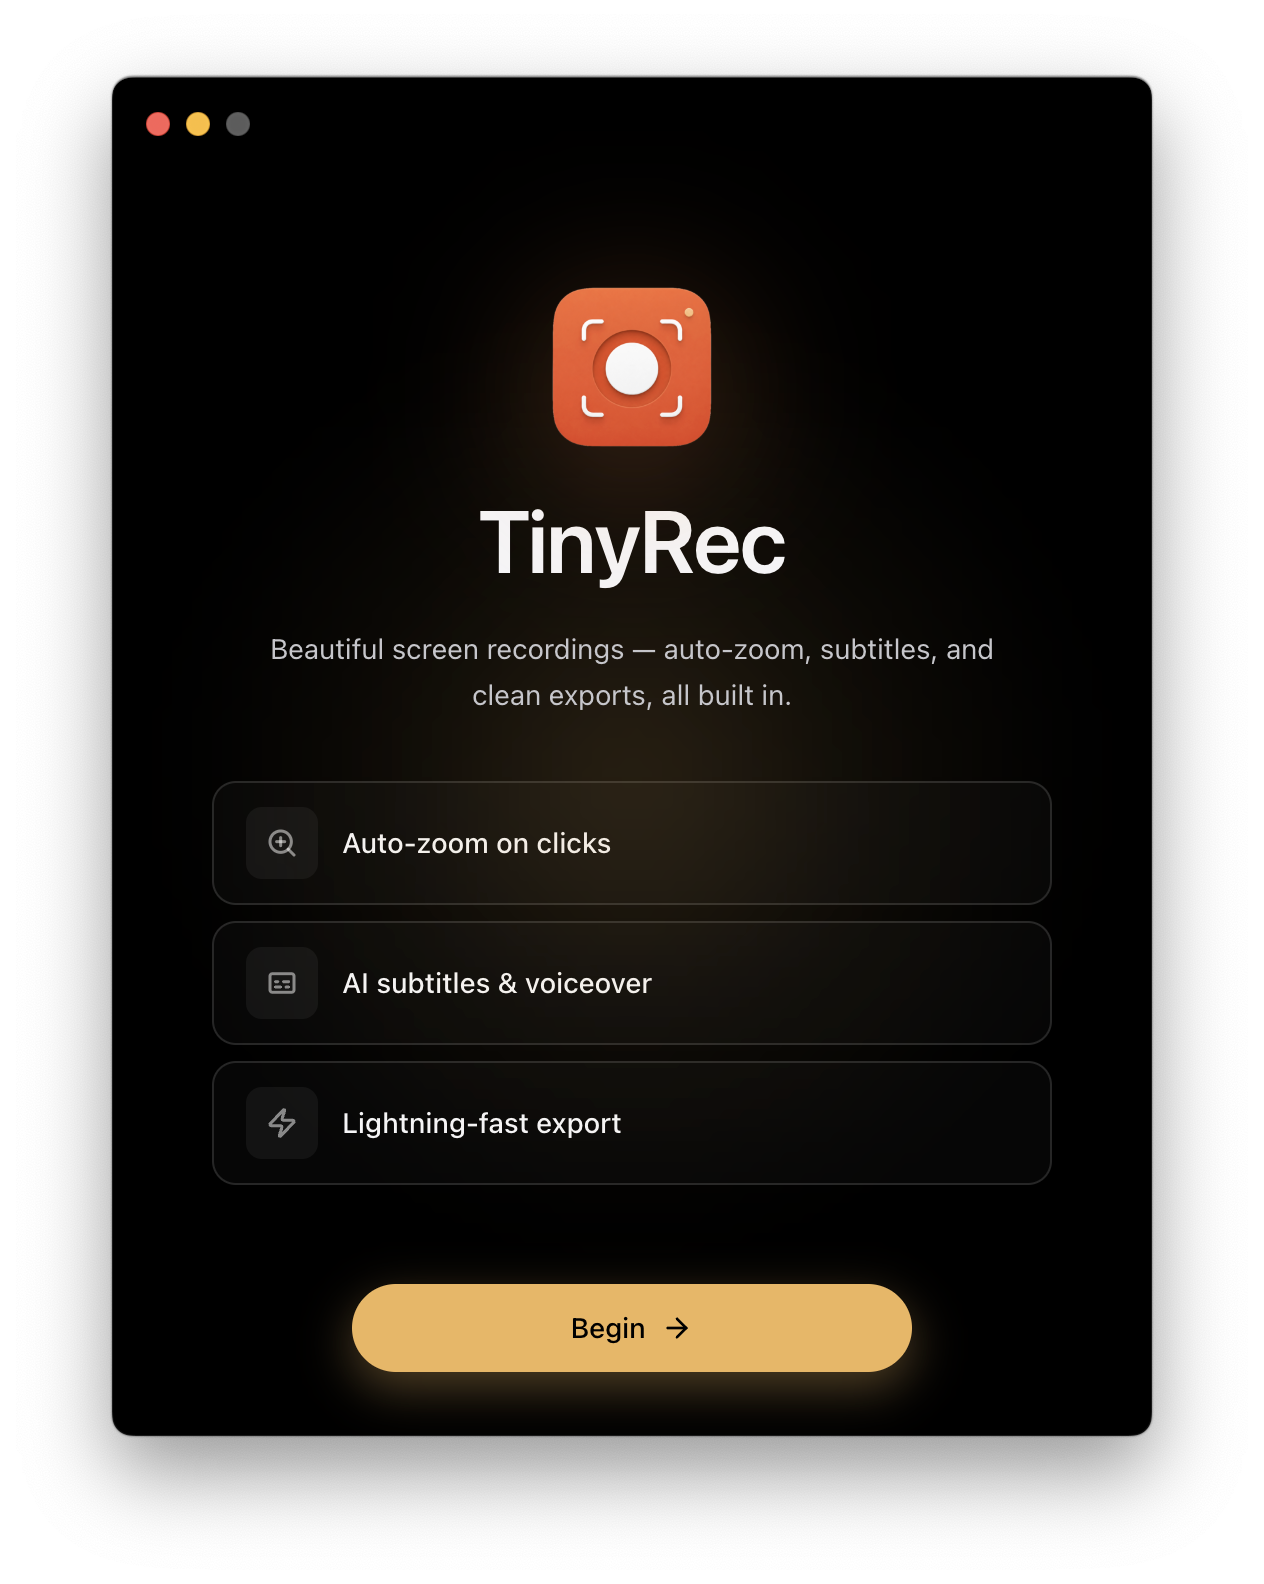
What happens next
TinyRec opens to the home screen and walks you through granting permissions for Screen Recording, Microphone, and Camera. That’s the next guide.